Showing posts with label DIY projects. Show all posts

24.12.13

GIFT WRAP IDEAS

Hi there! Wanted to give a sneak peek of some of my wrapping paper I made for some presents. It's quite easy to do, though a bit time consuming. I love it though, makes me happy after I've wrapped a gift in a special way.


For the base paper, try and get some blank newspaper rolls locally. They can be quite cheap! For all the stripes, I used a paintbrush and black paint. You can draw the lines also with a thick sharpie pen! I tried out some sayings in random layouts. A few ideas: "Ho Ho Ho", "Merry Christmas", "xo xo".


 Use whatever yarn or twine you like! Tassels are so easy to make. 1. Cut a ton of yarn the same length, 2. Wrap and tie a piece around them all, 3. Cut a few pieces to get a perfect ball!

Cheers to cute presents! xo

10.7.13

D.I.Y. FASHION MAKEOVER | DENIM JEAN DRESS TO TOP


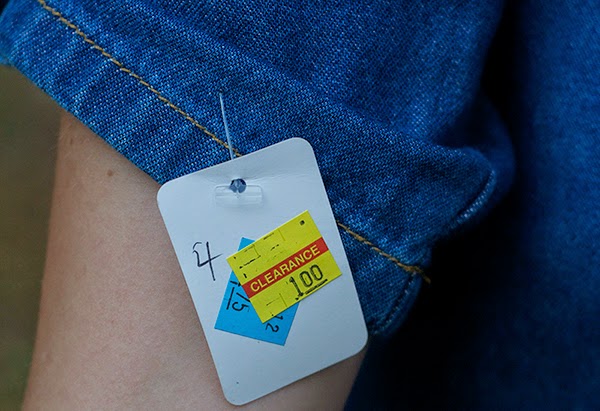
This dress is very ugly. I found it at a second-hand store for a buck. Looking at it closely though, there are a few possibilities. Chop off the skirt and sleeves and you have a denim vest. Or a few changes and you have a denim top that is totally in trend right now! I decided to go for the latter idea, which turned out to be very fun! I'm thinking of bleaching it sometime so it's a lighter denim, but anyways here we go...

FROM TACKY, TO TRENDY!

Directions: I cut off the skirt to the length I desired, making the cut slightly curved on the sides. I rolled the hem under twice, pinning as I went. After finding some gold thread that matched the other threading, I sewed a straight stitch until I had sewn the whole hemline. You can repeat another line so it is double stitched. Very easy project, with huge results!


xo STEPHANIE

3.7.13

D.I.Y. PAINTED SHOES MAKEOVER


Whether you have a pair of sneakers that have been worn down on the outside, a color that is so not cute, or if you are bored with your shoe collection, then this d.i.y. project will be perfect for you to try! I am in love with the color mint right now, so I decided to makeover a pair of yellow shoes that I never wear.


You'll need any pair of shoes you want to use

Fabric paint is inexpensive and easy to find in your local craft store. You'll also need a medium size paintbrush. The color mint is easy to mix using the colors above. Remove shoelaces and paint at your lea sure. Let dry completely. I can't wait to do this again with another color!


1.7.13

D.I.Y. OWL ANIMAL PILLOW TOY


Inspired by an Anthropolgie owl, I wanted to make something like it for my niece to play with! Isn't this just the cutest thing? I already had all the materials, there's not much you need to make it! So let's get started.


MATERIALS
 -Fake fur or fuzzy material is best for the stomach, back, and wings.
-Felt for the eyes.
-Grey material for head
-Cute patterned material for feet
-Stuffing

 
Cut out pattern pieces, adding 1/2" for seam allowance. (note: make sure to pre wash/dry your fabrics) Using black thread and a needle, embroider dots for the pupils on the eyeball pieces. Machine-stitch both of the eye pieces on top of the front head piece. Next, machine-stitch around each of the feet, wings, head, and body pieces, (all inside out) leaving a small opening for turning it out. Stuff the inside of the owl, making sure to put enough to make it nice and squishy. Then you can hand stitch the openings closed, and sew on the beak, and wings.

Leave comments with any questions you might have!

me and my niece / she loves her owl :)

25.6.13

D.I.Y. PROJECT : FLORAL SHORTS


SUPPLIES: 
any shorts/pants, fabric paints, stencils, stenciling brushes

floral shorts

THESE FLORAL SHORTS ARE GREAT BECAUSE THEY WILL FIT IN ANYONE'S BUDGET. THEY ARE ALSO THE CUTEST THING! 

1. Using some old jeans, I carefully cut off the legs to the length I wanted. It's alright if some ends hang down, or you can also roll them up if it bothers you. You can also use any plain shorts that you have on hand. The point of this d.i.y. is to not have to buy any shorts for the project :) or you might as well go buy the floral shorts for sale! 2. I mixed white paint with the green paint for the mint colored leaves, and white and hot pink paint for a light pink which looked awesome for the rose color. 3. Using your stencil brush, lightly paint the roses and leaves in a random design over the denim. Let dry.

Tips: 
-Try not to paint it on too thick.
-It's best to paint one side and let it dry completely before painting the other.
-The entire process of stenciling the shorts took me a couple hours so pick out a show or movie to watch while you have fun painting!


  HOPE YOU LIKED THIS TUTORIAL. KEEP COMING BACK FOR MORE D.I.Y! -Stephanie


17.5.13

D.I.Y. Wrist Pin Cushion

Follow my blog with Bloglovin


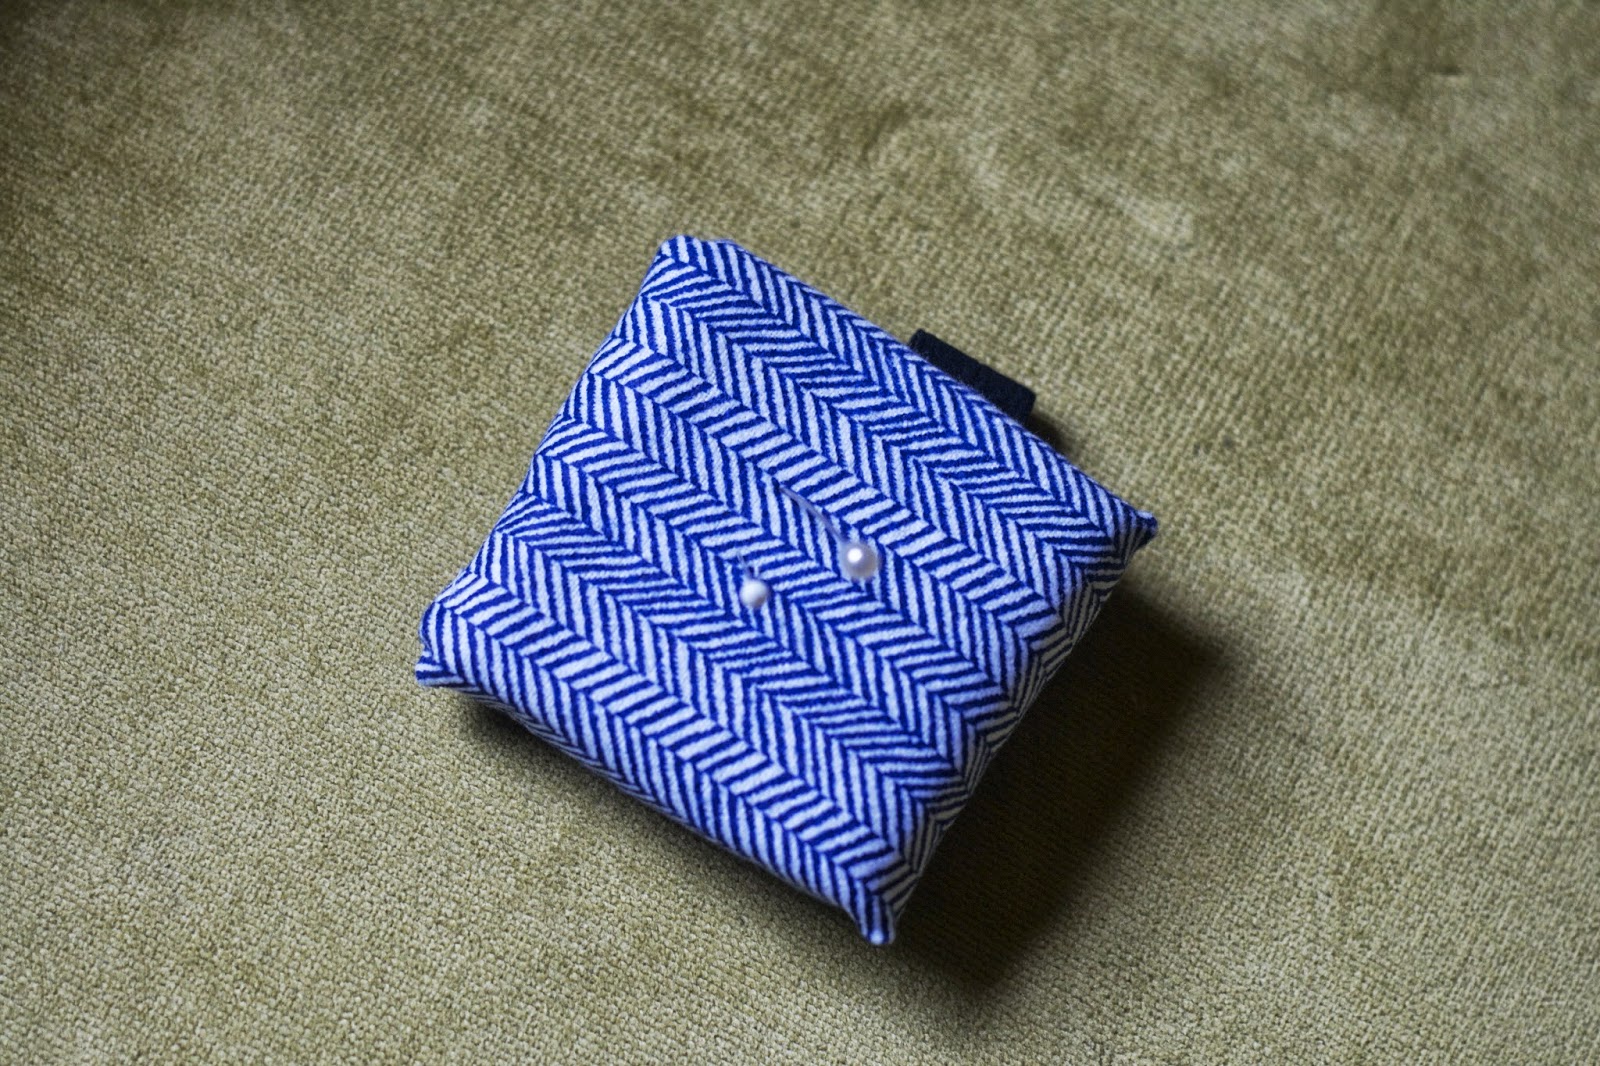
I've wanted to make one of these ever since I saw the designers on Project Runway using them. SUCH a time saver! And great for lazy sewers like me who don't want to reach all the way over stuff to find the pin cushion. Simple project, I made mine in like 15 minutes before bed late one night.
Enjoy making! -Stephanie


SUPPLIES: You'll need a square cut piece of fabric, scissors, thread & needle, foam, (cut to the size of  what you'll want for the cushion), elastic (I used a piece from a new hair elastic headband that I got in a pack at dollar tree)

Using the fabric piece, wrap your foam just like you would a small present. Whip stitch folds down using small, invisible stitches. 
For the elastic band, I wrapped it around my wrist to see how long it should be. Make it snug, it could be quite annoying if it flapped around and fell off. Once you have your elastic as long as you want, you'll need to cut two slits in the fabric where the ends will go through. Sew stitches where the ends are lying. All done!!


29.4.13

D.I.Y. | FLORAL HAIR CROWN


Quite easy to make, and so in trend this summer, floral crowns add a little bit of girlish innocence to an outfit. After seeing a ton of these crowns on pinterest and for sale on urban outfitters/free people, I bought a whole bunch of different artificial silk roses at the dollar store to make my own! I already had the other supplies like green floral arranging tape, wire, clippers, hot glue gun, and scissors. This project took me about an hour.

1// snip wire to the right length to fit around your head (twist 1 inch extra ends together) 2// wrap around the circle of wire with the green floral tape 3// cut ends off of flower buds and using the hot glue gun, start arranging and attaching blooms onto crown.

Tada! Hope you love your crown! -Stephanie

23.2.13

DRESS MAKEOVER - high low

I was going through my closet and found this print dress, but when I tried it on, it looked a little boring and a too long. Instead of getting rid of it, I thought I would modernize it changing the hemline into a high low! High low is on trend right now and basically is shorter in the front and longer in the back. I really liked the outcome and can't wait to wear it soon.
First, I used a seam ripper to take out the stitches on the front part of the dress. Go a little farther than the side seams. I then folded and played with how much I wanted to shorten the front, which turned out to be about three inches. Next comes pinning, make sure to get the circular hem even. 

Match the stitches on the back. This dress had a double row of stitches which I duplicated. Cut off excess fabric and it'll be ready to wear!


19.2.13

d.i.y

Hi everyone,
this is a fast and easy project. if you click on the picture, it will get bigger. 

i can't seem to stop making bows out of every color and fabric! enjoy making your own loveliness :-)


18.12.12

D.I.Y. GIFT WRAP


This season is so busy and yet we want to make each gift we wrap special and adorable. This way takes about 3 minutes and yet looks all put together!

MATERIALS: wrapping paper, embroidery thread, thick tan paper (this is for the tags. I cut them in circles and punched a hole), stamp + ink pad, pen, scissors, tape

INSTRUCTIONS: 1. Wrap your present. 2. Stamp a word, greeting, or design onto the tag. 3. Cut your thread about double the length of the present. 4. insert thread ends through tag and wrap around to the back and tie a knot (cut loose ends). 5. I wrote on the back of the tag who it was to and from.

And that's it! :D Hope you all are having a merry Christmas!

19.10.12

D.I.Y: Candle Jars

Hi guys! I thought you might like these candle jars, flower holders and photo holders. They are very fun to make and the best part is that I already had everything i needed to make them! Here's how to make your own~ 
 Supplies: glitter, glitter nail polish (optional: i used mine for a base to sprinkle the glitter on), scissors, wire, candle jars or small vases, glue stick, hot glue gun, wire cutters, long nose pliers, ornaments: pearls, little flowers, buttons, etc, burlap, paper words/quotes

I made two different kinds. Photo Holders and Candle Jars (pictured below)


Photo holders:  Cut a long piece of wire and wrap around the jar, using the long nose pliers. I wrapped mine a couple times. Then extend the end of wire up and make some circles that will hold your photo or postcard.

Candles Jars: Basically the difference with this is you put a strip of burlap around the jar with hot glue, and add a flower or button on top.

For both: Add quotes or words that mean something to you. I just went through an old book that I didn't want to keep nice and found words that were cute or funny. Use stick glue to adhere them onto glass. For glitter, I used my silver glitter nail polish and just put some where i wanted glitter. I then sprinkled on the loose glitter on top, which then sticks. Let dry before touching. The great thing about these is that you can make each one different and add your own style and ideas to them. They make great gifts as well! :-)

1.8.12

JEWELRY ORGANIZER PROJECT

There's many ways to arrange your jewelry in an organized yet cute way. I've struggled with keeping my chunky ring collection organized! They mostly ended up piled onto my vanity, looking cluttered and in the way. This led to this d.i.y. project that used supplies i already had, and only 15 minutes to complete!

SUPPLIES:
1. Find some pretty paper (scrapbook paper is great, also wallpaper, or wrapping paper). 2. Take egg carton and cut off the top- you'll be using the bottom. 3. Lay the carton on top of paper, fold over edge of carton and mark where there's extra paper 4. Using scissors, cut off that extra strip.


 5. Cover generously with stick glue and let dry (I used clothespins to help hold it together)
6. Next, make some slashes with scissors. (keep in mind how wide your ring bands are.) For pairs of earrings, pierce little holes with a needle.
7. Arrange your rings in any order you wish and place in a drawer or somewhere handy for slipping on your jewelry.


So simple and fun to make! I've been loving mine. ~stephanie

LinkWithin

Related Posts Plugin for WordPress, Blogger...