Showing posts with label sewing. Show all posts

1.7.13

D.I.Y. OWL ANIMAL PILLOW TOY


Inspired by an Anthropolgie owl, I wanted to make something like it for my niece to play with! Isn't this just the cutest thing? I already had all the materials, there's not much you need to make it! So let's get started.


MATERIALS
 -Fake fur or fuzzy material is best for the stomach, back, and wings.
-Felt for the eyes.
-Grey material for head
-Cute patterned material for feet
-Stuffing

 
Cut out pattern pieces, adding 1/2" for seam allowance. (note: make sure to pre wash/dry your fabrics) Using black thread and a needle, embroider dots for the pupils on the eyeball pieces. Machine-stitch both of the eye pieces on top of the front head piece. Next, machine-stitch around each of the feet, wings, head, and body pieces, (all inside out) leaving a small opening for turning it out. Stuff the inside of the owl, making sure to put enough to make it nice and squishy. Then you can hand stitch the openings closed, and sew on the beak, and wings.

Leave comments with any questions you might have!

me and my niece / she loves her owl :)

17.5.13

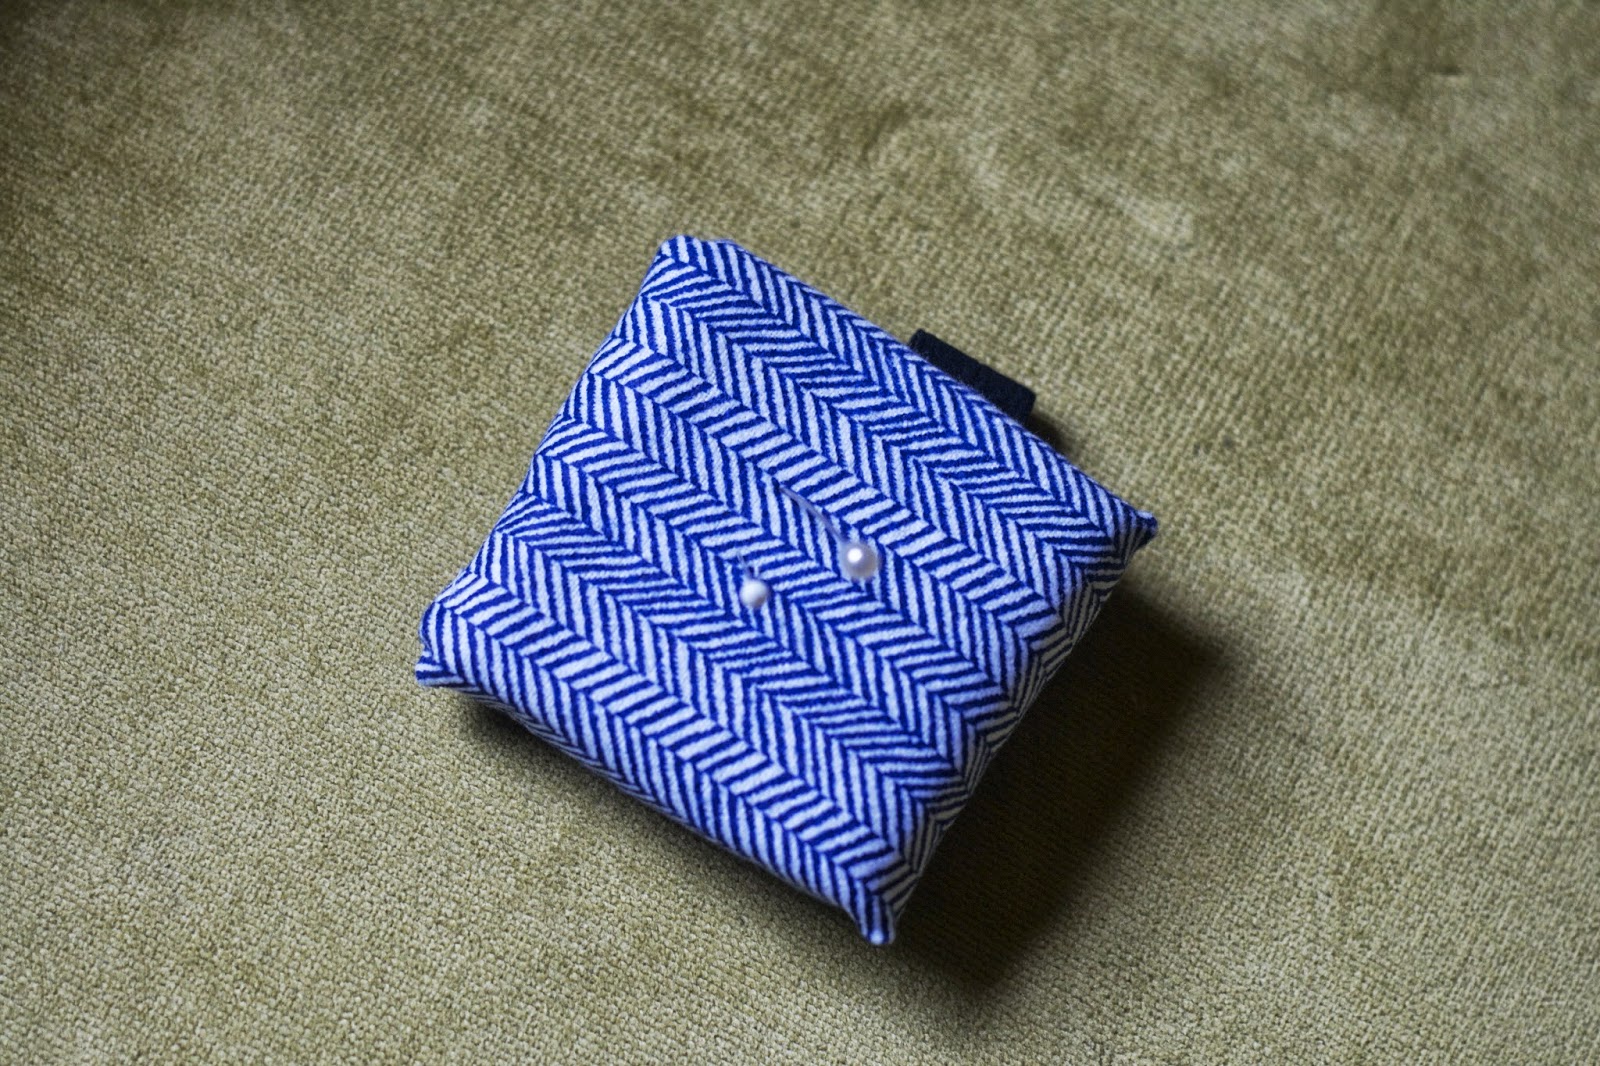
D.I.Y. Wrist Pin Cushion

Follow my blog with Bloglovin


I've wanted to make one of these ever since I saw the designers on Project Runway using them. SUCH a time saver! And great for lazy sewers like me who don't want to reach all the way over stuff to find the pin cushion. Simple project, I made mine in like 15 minutes before bed late one night.
Enjoy making! -Stephanie


SUPPLIES: You'll need a square cut piece of fabric, scissors, thread & needle, foam, (cut to the size of  what you'll want for the cushion), elastic (I used a piece from a new hair elastic headband that I got in a pack at dollar tree)

Using the fabric piece, wrap your foam just like you would a small present. Whip stitch folds down using small, invisible stitches. 
For the elastic band, I wrapped it around my wrist to see how long it should be. Make it snug, it could be quite annoying if it flapped around and fell off. Once you have your elastic as long as you want, you'll need to cut two slits in the fabric where the ends will go through. Sew stitches where the ends are lying. All done!!


1.2.13


I have a little shop space in town (if you didn't know!), and so I am now starting to design my SPRING/SUMMER line for 2013. I really couldn't be more excited. My inspiration for the line so far include peter pan collars, stripes, floral and lace. We shall see what happens~

26.7.12

current obsessions


hope you all are having a good week! sorry for my absence on this blog, i do miss posting more often. i have some exciting news to share very soon that includes drinking lots of coffee, shopping, and sewing. Can you guess?


LinkWithin

Related Posts Plugin for WordPress, Blogger...