Showing posts with label DIY. Show all posts

26.11.13

SKIN CARE : Anti Aging GREEK YOGURT FACE MASK

Thanks for stopping in today! I wanted to do a skincare post, because I've been pretty obsessive with it lately :)

We're going to talk about the benefits of Greek yogurt! It is amazing for beautifying purposes, because the protein it contains has the ability to repair skin cells, which in the long run can prevent aging skin, hair and nails. When Greek yogurt is used in homemade skincare remedies it can actually help cleanse, nourish and repair skin because yogurt contains lactic acid and enzymes, which are essential for beautiful skin! In short, use this mask to repair your skin! Here's how....


Refrigerate / SHELF LIFE 1 week
Optional ingredients to add: honey, coconut oil


Let me know how this mask works for you! xo


17.5.13

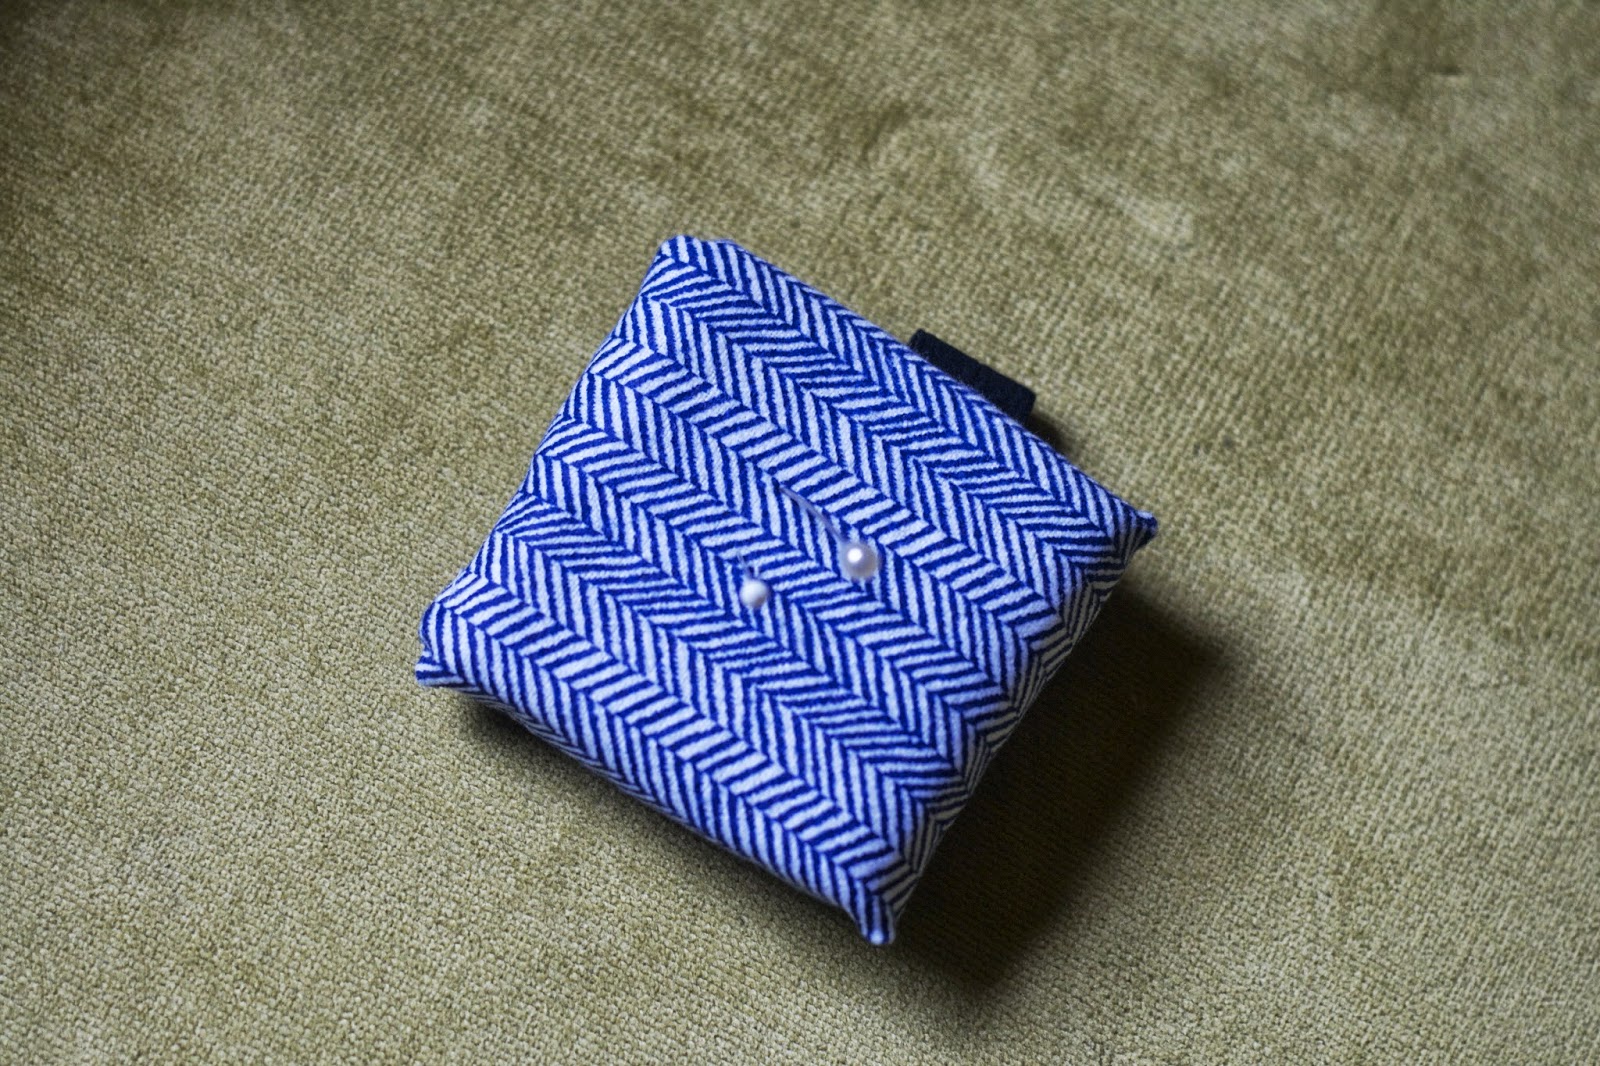
D.I.Y. Wrist Pin Cushion

Follow my blog with Bloglovin


I've wanted to make one of these ever since I saw the designers on Project Runway using them. SUCH a time saver! And great for lazy sewers like me who don't want to reach all the way over stuff to find the pin cushion. Simple project, I made mine in like 15 minutes before bed late one night.
Enjoy making! -Stephanie


SUPPLIES: You'll need a square cut piece of fabric, scissors, thread & needle, foam, (cut to the size of  what you'll want for the cushion), elastic (I used a piece from a new hair elastic headband that I got in a pack at dollar tree)

Using the fabric piece, wrap your foam just like you would a small present. Whip stitch folds down using small, invisible stitches. 
For the elastic band, I wrapped it around my wrist to see how long it should be. Make it snug, it could be quite annoying if it flapped around and fell off. Once you have your elastic as long as you want, you'll need to cut two slits in the fabric where the ends will go through. Sew stitches where the ends are lying. All done!!


29.4.13

D.I.Y. | FLORAL HAIR CROWN


Quite easy to make, and so in trend this summer, floral crowns add a little bit of girlish innocence to an outfit. After seeing a ton of these crowns on pinterest and for sale on urban outfitters/free people, I bought a whole bunch of different artificial silk roses at the dollar store to make my own! I already had the other supplies like green floral arranging tape, wire, clippers, hot glue gun, and scissors. This project took me about an hour.

1// snip wire to the right length to fit around your head (twist 1 inch extra ends together) 2// wrap around the circle of wire with the green floral tape 3// cut ends off of flower buds and using the hot glue gun, start arranging and attaching blooms onto crown.

Tada! Hope you love your crown! -Stephanie

23.2.13

DRESS MAKEOVER - high low

I was going through my closet and found this print dress, but when I tried it on, it looked a little boring and a too long. Instead of getting rid of it, I thought I would modernize it changing the hemline into a high low! High low is on trend right now and basically is shorter in the front and longer in the back. I really liked the outcome and can't wait to wear it soon.
First, I used a seam ripper to take out the stitches on the front part of the dress. Go a little farther than the side seams. I then folded and played with how much I wanted to shorten the front, which turned out to be about three inches. Next comes pinning, make sure to get the circular hem even. 

Match the stitches on the back. This dress had a double row of stitches which I duplicated. Cut off excess fabric and it'll be ready to wear!


19.2.13

d.i.y

Hi everyone,
this is a fast and easy project. if you click on the picture, it will get bigger. 

i can't seem to stop making bows out of every color and fabric! enjoy making your own loveliness :-)


18.12.12

D.I.Y. GIFT WRAP


This season is so busy and yet we want to make each gift we wrap special and adorable. This way takes about 3 minutes and yet looks all put together!

MATERIALS: wrapping paper, embroidery thread, thick tan paper (this is for the tags. I cut them in circles and punched a hole), stamp + ink pad, pen, scissors, tape

INSTRUCTIONS: 1. Wrap your present. 2. Stamp a word, greeting, or design onto the tag. 3. Cut your thread about double the length of the present. 4. insert thread ends through tag and wrap around to the back and tie a knot (cut loose ends). 5. I wrote on the back of the tag who it was to and from.

And that's it! :D Hope you all are having a merry Christmas!

19.10.12

D.I.Y: Candle Jars

Hi guys! I thought you might like these candle jars, flower holders and photo holders. They are very fun to make and the best part is that I already had everything i needed to make them! Here's how to make your own~ 
 Supplies: glitter, glitter nail polish (optional: i used mine for a base to sprinkle the glitter on), scissors, wire, candle jars or small vases, glue stick, hot glue gun, wire cutters, long nose pliers, ornaments: pearls, little flowers, buttons, etc, burlap, paper words/quotes

I made two different kinds. Photo Holders and Candle Jars (pictured below)


Photo holders:  Cut a long piece of wire and wrap around the jar, using the long nose pliers. I wrapped mine a couple times. Then extend the end of wire up and make some circles that will hold your photo or postcard.

Candles Jars: Basically the difference with this is you put a strip of burlap around the jar with hot glue, and add a flower or button on top.

For both: Add quotes or words that mean something to you. I just went through an old book that I didn't want to keep nice and found words that were cute or funny. Use stick glue to adhere them onto glass. For glitter, I used my silver glitter nail polish and just put some where i wanted glitter. I then sprinkled on the loose glitter on top, which then sticks. Let dry before touching. The great thing about these is that you can make each one different and add your own style and ideas to them. They make great gifts as well! :-)

8.3.12

DIY Abstract Painting

I just love paintings that hold secret messages and meanings. I can't wait to find the perfect place for this piece, on which I painted the words: "What Would You say If I Asked You To Marry Me.

 In this post I'll show you the techniques in how to create your own abstract art. You'll need a piece of wood, white paper, glue, and black & white acrylic paint.

1. Take the wood and lay it on a covered surface. Newspaper works great 2. Cover the white paper with glue.  I used blank album paper. 3. Press paper onto wood and smooth out any major creases or bubbles. 4. Taking a medium sized, flat paintbrush; and black acrylic paint, create vertical stripes 5. Continue until entire board is covered in black and white stripes. 6. For lettering, use white acrylic and carefully paint a short quote, or word. 7. To add some character, mix black paint and a bit of water until it's a muddy consistency, and then start flicking with a dripping brush. That was the most fun part! Then paint the sides of the board black so it looks nice hanging on the wall.

And you're done! Wasn't that so much fun?! Now you have your own abstract art to hang on a wall or give to a friend.
xo. stephanie


1.1.12

Hello Miss Kitty Heels

I adore these! I found them on Spotted Moth, and I definitely want to make some following the DIY tutorial that I found and blogged a short time ago. I have to say that it will have to include the adorable bows at the front of the heels and shining, pink glitter. These are party shoes!


29.12.11

DIY Glitter Pumps

I loved this tutorial on making your own glitter heels! I just had to share it with you! I found the following directions and pictures HERE.

~s. nicole


We love pumps. We love sparkly things.  So it shouldn’t be a surprise that we would love sparkly pumps!  Glitter pumps are all the rage right now in the fashion world and we couldn’t be happier. We found a great tutorial on just how to do that Jenni of Pixie in Pumps created and we’re thrilled to share it with you:


You’ll Need:
- Extra Fine Glitter
- Mod-Podge (I used Gloss-Lustre)
- Pair of Shoes – Sand Paper
- Bowl
- Paintbrush
 - And something to cover your work surface (tinfoil)


You should probably sand the shoes just to make sure that the glitter and glue can adhere to the shoes as best as it can.  I didn’t actually have sand paper and rather than waiting until I got some… I used a nail file.  It did the job just fine, so there you go.

Next I sorted through the glitter I bought to decide which colors I wanted to use.  I decided on a few goldish tones, silver, and a little of one of the reddish tones.  That’s the beauty of DIYing these shoes instead of buying them.  This way you can make them whatever color you’d like instead of settling for the colors that the designers have decided on.

Just mix the glitter together in whatever combination you’d like.  I wanted a platinum color with a little bit of a darker gold tone when the light hit it just right, so mine was mostly a mixture of the gold and silver with the reds and darker golds thrown in as low lights.  There really isn’t an exact measurement for any of this.  You just have to sort of use your best judgment.  As you can see I mixed the glitter first and then added the Mod-Podge, but I’m sure you could do it the other way as well.

Once you’ve mixed in the Mod-Podge just start brushing it on the shoes.  I wasn’t sure how to do this exactly.  I brushed it on it kind of thickish strokes, and in hindsight I probably should have done it in thin coats and then let it dry and added a second.  I also think I might have used too much glittery because it started to get a bit clumpy towards the end.

And VOILA! That’s it!  Seems fairly easy, right?  You can even go back over them with a coat of just Mod Podge to kind of “seal” them if you like.  Jenni, the Pixie in Pumps, said that they have withstood normal wear and tear just fine and are even puddle proof!  So, you can buy the Louboutins for $600, or with a little work and a lot less money- make your own!


30.11.11

Watermark Tee DIY Tutorial


I just looked at this tutorial for designing words or artwork on tee shirts. It's really quick and easy, and I'm definetly going to try it out. Read how to make your own watermark tee...

love,

-s. nicole

LinkWithin

Related Posts Plugin for WordPress, Blogger...